
Full drives are often a workflow problem: originals, catalogs, proofs and final exports stay mixed together after delivery. Managing storage means deciding what is active, what is backed up and what can move to an archive before buying another drive.
Plan for the entire job, not just the final gallery. This guide follows the path from card ingest through culling, backup, delivery and retirement. It includes a capacity calculation based on a real Adobe practice file; the shoot counts are hypothetical. It does not report an ingest, restore or deletion test.
Your New Storage Workflow Starts Here
RAWs, previews, sidecars, client selects and final JPEGs serve different purposes. Give each a place and an owner. A folder that looks redundant may contain the only original, a requested alternate edit or the catalog that explains your work.
Practical rule: Be able to answer three questions: What is active? What is independently protected? What is approved for removal?
A durable workflow has four parts: measure the full project footprint; use a consistent file map; mark selections without rushing to destroy rejects; and move completed work to a verified archive. Delivery creates a useful review point, but it does not automatically authorize deletion.
Keep a job record with the source folder, catalog, delivery version, backup locations, retention decision and next review date. This makes later cleanup a decision based on evidence rather than an attempt to guess which folder matters.
Assess Your Needs and Organize Your Foundation
Capacity planning starts with real projects. Include the complete import, catalog and preview files, working exports, final deliverables and any temporary safety copies. Count backup capacity separately from the workspace.
Audit the real volume, not the final gallery
Measure three recent jobs before culling and again after delivery. Record file count, total bytes and peak space while editing. Use those observations to estimate the largest likely job and the number of overlapping projects.
A simple planning checklist helps:
- Review active projects: Count simultaneous shoots and revisions, not just bookings.
- Separate working data: Measure originals, catalogs, previews and exports; identify which copies are on which devices.
- Plan for growth: Larger files, video and longer events change capacity needs. Use your own workload rather than a generic annual growth percentage.
- Track what lingers: Locate old proofs and alternate exports, then review their purpose before marking them for cleanup.
Here is a reproducible example. Adobe's basic light-and-color lesson provides a downloadable practice DNG named Duggan_MarshallPoint_Light_for-demo-only.dng. The uncompressed ZIP entry is 10,401,618 bytes, or 10.40 MB in decimal units. That is one published practice file, not a typical size for every camera or RAW format.
Assume a proposed job contains 3,000 files of that size, 10 GB of catalog/preview/working overhead and 3.2 GB of final exports. Those counts and allowances are assumptions, not measurements of a photographed job:
- Originals: 3,000 × 10,401,618 bytes = 31.20 GB.
- Workspace total: 31.20 + 10 + 3.2 = 44.40 GB.
- A chosen 25% planning allowance gives 55.51 GB per job workspace.
- Three independent copies of the same retained 44.40 GB set require 133.21 GB of logical capacity altogether, or 166.52 GB if each destination also receives the same 25% allowance.
This is not a drive purchase recommendation. Version history, RAID overhead, other jobs and operating-system space are additional; temporary files may not need the same long-term retention as originals. If your actual imports are larger, substitute their measured bytes. Measure video separately. For finding projects later, pair the calculation with a consistent photo organization system.
Build one folder structure and stick to it
A predictable structure lets someone find a job without knowing who edited it. Choose a date format and names once, then use them consistently.
| Folder level | Example | Why it works |
|---|---|---|
| Year | 2026 | Groups annual archives |
| Job folder | 2026-05-18_Smith_Wedding | Combines date, client and job type |
| Source folders | RAW, AUDIO, VIDEO | Separates original capture assets |
| Work folders | CATALOG, EDITS, EXPORTS | Separates the editing database and working versions |
| Delivery folder | CLIENT_GALLERY | Identifies the approved handoff set |
Use version labels where they distinguish real deliverables, such as 2026-05-18_Smith_Wedding_BW_v02.jpg. Keep a record of which version was delivered. When a catalog manages file paths, use that editor's supported move/relink workflow rather than rearranging folders blindly.
Folder names help only when they mean the same thing from job to job.
A fast SSD can be a useful catalog workspace; separate image storage may suit a larger archive. That arrangement does not itself prevent catalog corruption or protect against loss of the whole location. Back up both the editing database and original photos. Adobe's Lightroom Classic catalog-backup instructions explain that its scheduled catalog backup excludes the photos and exports.
Master Your Culling and Selection Workflow
Culling reduces the set you edit and deliver. It does not have to mean immediate deletion. Preserve the full verified import while marking rejects and comparing alternatives; postpone destructive decisions until the retention and backup checks are complete.
Treat the memory card as transit, not storage
Copy the card into the named source folder. For a large ingest, smaller batches can make interruptions easier to locate, provided the import record accounts for the complete card. Do not assume a progress bar means every file arrived intact.
Before formatting or reusing a card:
- Reconcile file counts and expected folders; compare checksums where the import tool supports them. Open representative files, including files near any interrupted batch. A sample alone does not verify the whole import.
- Create independent local and off-site backup copies and confirm their jobs completed without skipped files or errors. A pending cloud upload is not an off-site copy.
- Restore representative originals from a backup to a separate temporary folder, compare them with the verified import and check that they open. Keep a record of the result; this is a procedure to perform, not a test reported here.
- Confirm the retention decision and release the card only after those checks pass. If off-site protection or verification is incomplete, keep the card and obtain additional capture media rather than clearing the only remaining source.
The card remains a temporary safety copy until this gate passes. It is not the long-term archive or a replacement for independent backups.
Use a multi-pass culling method
Make selections in three passes:
- Mark rejects: Flag missed focus, accidental frames, misfires and unusable expressions without immediately deleting originals.
- Compare near-duplicates: Choose frames by gesture, composition and timing. Similar filenames or thumbnails alone do not prove that two files are identical.
- Choose deliverables: Select for the client brief and story. Record alternates needed for revisions, licensing, albums or other agreed uses.
A “maybe” frame needs a review decision, not an automatic deletion date.
Keep a holding set for unresolved selections. Gallery approval can trigger a review, but unselected files may still be needed under the agreement or an exception hold. Remove a file from active storage only after confirming whether it is being archived or permanently deleted. Apply the cleanup gate below before destruction.
Implement a Tested Backup Strategy
No strategy makes files unbreakable. Design for drive failure, theft, accidental deletion and bad overwrites, then check that the copies are recoverable. A backup marked successful is useful evidence, but it does not replace a restore exercise.
Use the 3-2-1 rule without overcomplicating it
CISA's Data Backup Options describes three total copies: one primary and two backups, on two media types, with one copy off-site. It is a planning baseline, not a guarantee against every failure.
- Copy one: The active job on the editing machine or working SSD.
- Copy two: A backup on a separate local device, such as an HDD or NAS with a defined backup policy.
- Copy three: A completed off-site backup, in a suitable cloud service or on a drive held at another location.
Two folders or partitions on one drive are not independent copies. A NAS in the same room still shares fire or theft risk. Verify the storage media and recovery arrangements behind a service rather than assuming the word “cloud” satisfies every part of the plan.
Give each storage type one job
Choose storage by the work it needs to perform, then add independent protection. Devices can serve several roles, but a single device is still a single failure point.
| Storage type | Useful role | Limitation to account for |
|---|---|---|
| External SSD | Active editing and current jobs | It must not be the only retained copy |
| HDD | Larger local backups or less frequently accessed archives | Check performance for your workload and maintain independent copies |
| NAS | Shared storage and a local archive | RAID and shared storage do not replace off-site backup |
| Cloud backup | Off-site copies and remote recovery | Check upload completion, version retention, account access and recovery time |
RAID can improve availability during some disk failures; it does not undo an authorized deletion or protect against losing the whole system. Budget usable capacity after redundancy overhead, and back up the NAS separately.
Fast space should serve current production. A completed project can move to slower storage once the destination is verified and protected. Moving a folder is not the same as creating an additional backup.
Protect the backup from bad sync habits
Sync can propagate deletions and overwrites. Version history may help recover a mistake, but only while the needed version still exists and the account remains accessible.
Backup warning: Confirm recovery from an earlier version; do not count a live mirror as protection from mistakes made on the source.
CISA's ransomware guide recommends offline encrypted backups and regular availability/integrity tests. Where supported, deletion protection and versioning add protection. Check the service's actual retention and recovery behavior; ordinary file sharing is not automatically a backup service.
Allow for upload backlogs and first-restore download time. An off-site drive can be an alternative when connectivity is inadequate, but it must be updated, stored separately and included in the recovery record.
For a proposed restore exercise, restore one complete representative job into a separate location, without overwriting current work. Check the retained source files, delivery set and catalog/sidecars; open the restored catalog and verify its image links. Adobe describes opening a restored catalog with its associated .lrcat-data file. Record missing files, errors and elapsed recovery time. Fix failures before relying on that backup or clearing working copies. No such restore was performed for this article.
Use Delivery Platforms for Smart Storage Offloading
Delivery separates client-facing exports from editing files. It can make the workflow easier to organize, but uploading a gallery does not free local space until an approved local archive or cleanup step occurs.
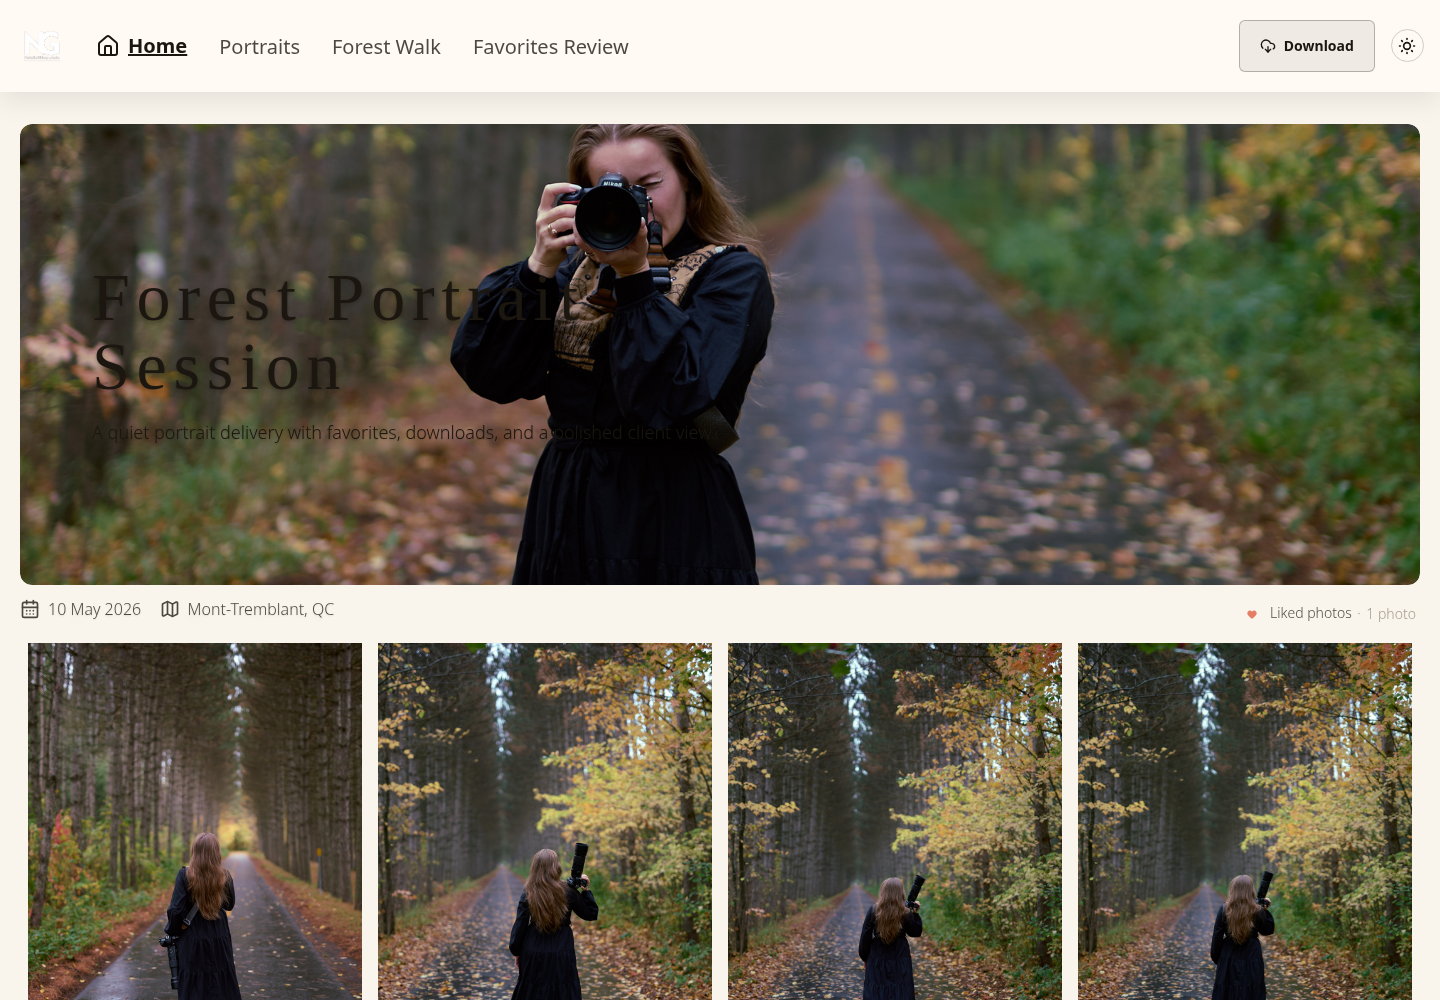
The gallery is a storage decision
Use a gallery such as SendPhoto to present finished photos, while maintaining an independent archive of the files you promise to retain. See gallery delivery for the presentation layer. The screenshot above illustrates browsing and download access; it is not evidence of storage reclamation.
Keep these separate in your job record: ending visitor access, removing a gallery, deleting hosted files and purging local files. A link becoming inaccessible does not establish that stored files have been deleted. A hosted deletion does not remove a local archive. Confirm the actual account controls and terms before promising a client any expiry or deletion behavior; this guide does not claim automated SendPhoto cleanup.
Separate deliverables from working files
A useful file map has three tiers:
- Working tier: Originals, catalog, sidecars, selections, revisions and temporary exports for active production.
- Delivery tier: The approved JPEGs, video exports or album files actually handed off.
- Archive tier: The originals, editing data and final deliverables retained under the job's policy, with independent backups.
Log the final delivery version before moving a completed job off the working SSD. Copy it to the archive, verify the files and backup coverage, then remove the working copy only when the cleanup gate permits. Preserve any files needed to reopen or revise the job. For hosting choices, the photo-hosting comparison covers delivery options; it is not an archive guarantee.
Automate Your Archival and Cleanup Process
Automation is useful for inventory, copying, verification and review reminders. Start there. A script that deletes by age alone cannot know about a promised revision, disputed delivery or hold.
Create a retention policy that matches real work
Write down which files remain, for how long, where they live and who authorizes removal. There is no universal three-month or two-year deletion rule for every photography job. Client agreements, applicable requirements and unresolved claims can change the decision; this guide does not set a legal retention period.
- Keep active jobs on fast storage: Include open revisions and unresolved delivery issues.
- Archive approved deliverables: Keep the actual handoff set and a record of its version, along with the source/editing data your agreement requires.
- Review temporary production files: Mark obsolete proofs and test exports for review; do not automatically treat them as disposable because they are old.
- Decide the RAW policy: Distinguish moving originals off premium storage from permanently destroying them. Document exceptions and the next review date.
Resize or compress delivery copies for their destination; do not overwrite the only source to save space. The web-photo compression guide covers that export step. If a proof can be regenerated, record which originals and editing data regeneration requires.
Automate the parts people forget
Schedule repeatable work, with failure alerts and a named person who checks them:
- Scheduled backups: Track completion, skipped files and off-site backlog.
- Archive transfers: Copy and verify before removing the working source; log the new location.
- Export-folder review: Generate a candidate list and reminder rather than deleting blindly after handoff.
- Integrity checks: Compare stored checksums where available and periodically restore a complete representative job. A checksum can detect a change; it does not itself repair a bad file.
Use a deletion gate before any destructive cleanup:
- Prepare a manifest: List exact paths, file counts, total bytes, reason for removal and the job record. Distinguish removal of a redundant working copy from intentional permanent deletion.
- Review retention and exceptions: Confirm delivery/revision status, agreements and applicable requirements. Exclude unresolved selections, disputes and holds; name the approving person.
- Check recovery where files must be retained: Verify independent archive and backup copies, including off-site completion, and a recent successful restore. Check any catalog paths that will change.
- Run a dry run: Inspect the proposed paths and exclusions. Stop on unexpected files, errors or incomplete backups. A dry run is a preview, not permission to delete.
- Approve and log the action: Use the approved manifest, then verify what changed. A reversible quarantine can help catch mistakes but is not a backup; account for its space and final review. If permanent destruction is required, separately address backup/version retention rather than leaving forgotten copies or claiming instant erasure.
This gate is a proposed operating procedure, not a script executed for this article. Do not use an unchecked wildcard or modification date as the sole deletion decision.
Retire old hardware safely
First migrate retained data and verify recoverability. Then identify the device, data sensitivity, planned reuse or disposal and responsible person. Deleting files or a quick format is not proof of suitable sanitization.
NIST SP 800-88 Revision 2 distinguishes clear, purge and destroy methods. Choose an appropriate supported method for the medium and risk, check its outcome and document acceptance. Flash storage needs media-specific handling; repeatedly overwriting an SSD is not a universal solution. Use a qualified provider when you cannot carry out and verify the chosen process. A job category alone does not establish that destruction is mandatory.
Record device identification, chosen method, completion/errors and who accepted the result before the hardware leaves your control. Keep that disposal record with the archive policy.
Start with one job: measure its full footprint, establish independent copies, separate its delivery set and document its retention decision. SendPhoto can serve as the gallery delivery layer; your archive and approved cleanup process remain separate responsibilities.