The studio is ready. The blankets are steamed, the beanbag is shaped, the white noise is running, and the infant is finally asleep. That's the moment when many photographers either settle into a clean posing flow or start improvising and lose both efficiency and consistency.
Infant photography poses reward preparation far more than spontaneity. The modern posed-newborn style emerged in the early 2000s and grew into a global industry worth over $1.4 billion annually, with North America accounting for nearly 40% of revenue, according to this overview of posed newborn photography. That commercial success came with a clear reality. Great newborn work depends on repeatable setups, close safety control, and galleries that show variety without chaos.
Historically, child photography goes back to the 1840s, but the highly manipulated newborn look is much newer and distinct from earlier documentary or family portrait traditions, as explained in this history of photographs of children. Clean posing, careful support, and thoughtful editing now matter as much as lighting. That same attention to control is why studying unrelated disciplines like master lighting for arch-viz can sharpen a photographer's sense of form, shadow, and visual direction.
Table of Contents
- 1. The Swaddled Sleep Pose
- 2. The Froggy Pose (Taco Pose)
- 3. The Parent Hold (Lifestyle) Pose
- 4. The Baby on Back (Open Pose)
- 5. The Baby in Basket or Prop Setup
- 6. The Tummy Time Pose
- 7. The Sibling Interaction Pose
- 8. The Wrapped Side Lay Pose
- 8-Pose Infant Photography Comparison
- From Pose to Presentation Delivering Your Gallery
1. The Swaddled Sleep Pose
This pose earns its place at the front of a session because it settles the infant and gives the photographer margin for error. A secure wrap reduces flailing arms, keeps the body compact, and helps preserve sleep during transitions. It also gives clients a timeless frame that doesn't depend on a complicated prop or advanced retouching.
The classic version works best when the infant is placed on the back or side on a stable, padded surface with the head naturally supported. That safety-first starting point aligns with professional guidance that the safest approach is photographing the baby lying comfortably with the head and neck supported, as outlined in this newborn session safety article.
Setup and light
Use one primary light source from the side at a soft angle. A large window with diffusion or a broad studio source gives enough shaping to define cheeks and wrap texture without carving harsh shadows under the nose.
A neutral knit wrap, a cream layer beneath, and one subtle texture on top are usually enough. Too many fabrics make the frame look bulky and distract from the infant's face.
- Wrap with tension, not force: The wrap should feel secure around the torso and legs without flattening the chest or pinning the shoulders unnaturally.
- Pose the hands last: Once the body is settled, bring one or both hands into view near the cheek if the infant tolerates it.
- Keep backup wraps ready: If the infant soils the first setup, a fast swap preserves momentum and keeps the session calm.
Practical rule: The first swaddled setup should be the easiest image to complete, not the most ambitious one.
What to deliver
This pose can fill a strong mini-sequence in the client gallery. Deliver one full-body frame, one tighter crop on the face, and a few detail images of hands, feet, or lashes. That variation feels generous even when the setup itself is simple.
For organization, place every swaddled variation in one labeled gallery section. Many photographers also refine their wrapped portraits by studying posing and expression flow in a broader portrait photography masterclass.
2. The Froggy Pose (Taco Pose)

Few infant photography poses are requested more often than this one, and few are misunderstood more often by newer photographers. The finished image looks compact and effortless. The process isn't. This is an advanced composite, not a balancing act.
The pose itself places the feet tucked beneath the face with the hands under the chin while the infant leans on the elbows. Safety guidance for the pose is explicit that the photographer should never force the infant into it if the baby resists or pulls the hands away, as described in this guide to top parent and baby poses.
Build the frame first
Start with a padded base. A posing pillow under layered fabric helps bring the infant upward so the face sits at a flattering angle without excessive neck compression.
The camera should stay low and stable. This isn't the place for dramatic overhead leaning or fast lens swaps while unsupported body parts shift.
Safety comes before aesthetics. If the infant stiffens, startles, or won't settle into the tuck naturally, the pose is finished before the shutter clicks.
Composite workflow
The clean result comes from combining separate support frames. For the related head-on-hands composite process, photographers capture one image with support on the head and another with support under the hands, then merge them in post, as explained in this newborn posing tutorial. The same composite mindset should govern the froggy-style image.
- Capture support plates clearly: One frame should show stable head support. Another should show support at the wrists or hands.
- Don't chase too many angles: Small camera shifts make compositing harder. Lock the composition first, then shoot the plates.
- Explain the process if asked: Clients usually appreciate knowing the final image was built safely.
In the gallery, keep froggy variations in their own folder. Clients compare subtle head turns and hand placement more easily when those frames aren't mixed into wraps and parent shots.
3. The Parent Hold (Lifestyle) Pose

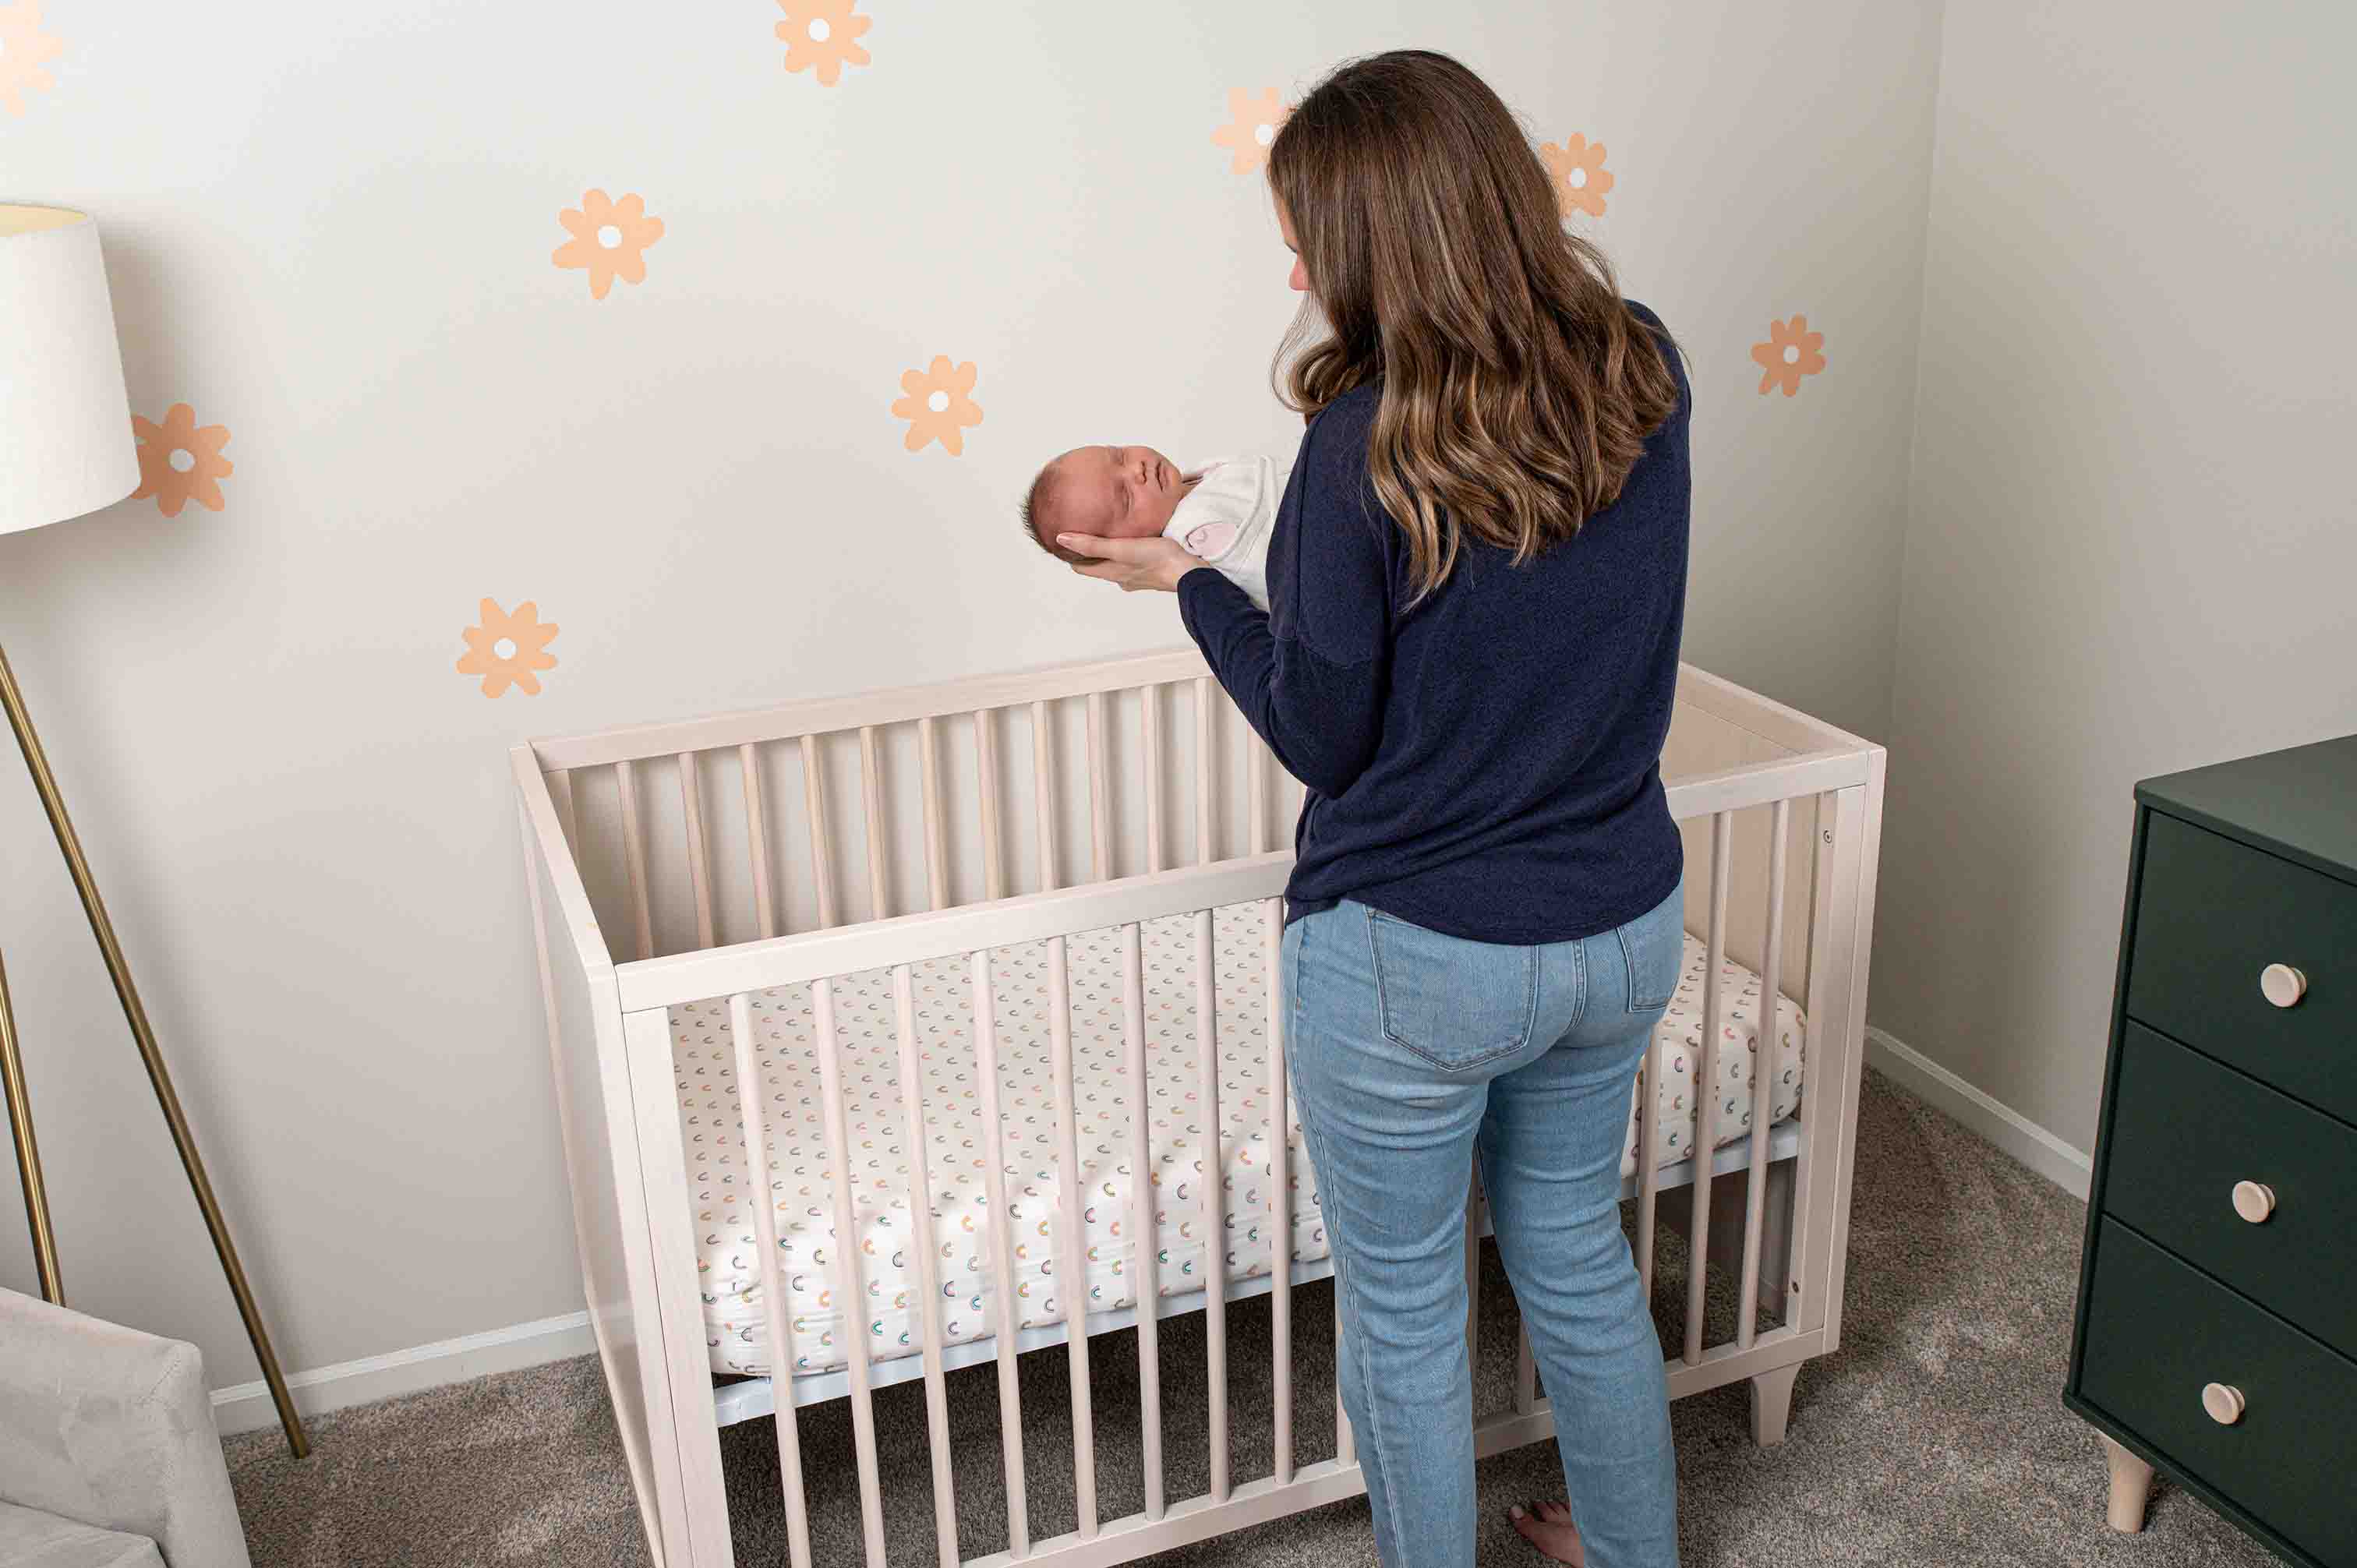
When a posed setup stalls, parent-hold images often save the session and enhance it at the same time. They replace technical perfection with connection, and clients usually feel that difference immediately.
This is also the right move once the infant moves out of the easiest classic posing window. The optimal period for sleep-heavy curled poses is days 5 to 10 after birth, and by 3 to 4 weeks, activity often increases enough that working with parents becomes the better route, according to this infant photography timing guide.
Direct the adults, not the baby
Most lifestyle parent images improve when the photographer gives adults one simple job at a time. Ask for a cradle hold, then ask the parent to look at the infant, then ask for a forehead touch or a kiss near the temple. Stacking too many directions at once stiffens the frame.
Window light is ideal here because it flatters skin and creates a softer transition between parent and infant. A slight turn toward the light usually gives enough shape without forcing anyone into an uncomfortable stance.
- Use the wrap strategically: A lightly wrapped infant gives a cleaner silhouette in arms and helps conceal clenched fists.
- Shoot close, then step back: The tight frame sells emotion. The wider frame gives context and helps album design later.
- Watch hands carefully: Parent fingers can either frame the infant beautifully or block the jawline and chin.
Gallery grouping that sells emotion
Group these images by relationship. "Mom & Baby," "Dad & Baby," and "Parents Together" is easier for clients to review than a mixed run of all family images.
That same sequencing works well with at-home session inspiration too, especially when paired with ideas from a pregnancy photo shoot at home guide, where intimacy and familiarity shape the visual tone.
4. The Baby on Back (Open Pose)
This is one of the safest and most flexible infant photography poses in the studio. It isn't flashy, but it produces a lot of usable frames because the infant can stay comfortable while the photographer changes angle, crop, and styling around them.
The pose is especially useful when sleep is light. A baby who won't tolerate a deep curl may still settle beautifully on the back with relaxed arms and a slight head turn.
Keep the pose honest
The best version doesn't look heavily arranged. A soft layer under the shoulders, a smooth blanket beneath the body, and gentle hand placement are enough. Trying to over-style an open pose often makes it look stiff.
Photographers should also stay disciplined about overhead work. Existing behind-the-scenes guidance notes that professionals take a "safe shot" for every pose before tweaking details, and the gap around safety-first camera positioning remains under-addressed even as parental inquiries about newborn photography safety have increased, according to this behind-the-scenes newborn posing discussion.
Get the safe frame first. Then refine fingers, smooth fabric, and adjust micro-turns of the head.
Work the angle without overshooting
This pose invites too many near-identical frames. Instead of spraying every slight expression, work through a short planned sequence.
- Start overhead: This gives the cleanest geometry and shows the infant's full shape.
- Move to a 45-degree angle: That adds depth and makes the setup feel less clinical.
- Finish with face detail: Eyes, lashes, lips, and hairline usually complete the story.
In curation, organize by expression type if the infant was awake for part of the sequence. Sleepy, alert, and detail close-ups make sense to clients much faster than one long mixed set.
5. The Baby in Basket or Prop Setup

Props can raise the perceived production value of a session fast, but they also amplify risk fast. A basket image only works when the prop disappears visually and behaves predictably physically.
This category has become big business in its own right. The global newborn photography props market was valued at $342 million in 2024 and is projected to reach $582 million by 2033, growing at a CAGR of 6.1%, according to this market analysis of newborn photography props. That growth reflects how standard these setups have become in professional newborn work.
Stability before styling
Test the prop before the infant is placed anywhere near it. Press into the base, check for wobble, and weight the bottom if needed. Soft filler should cradle the body and raise the infant high enough that the face remains visible without slumping.
Avoid any setup that depends on a precarious edge, narrow opening, or unsupported upright position. If a spotter is available, the setup becomes easier and safer. If one isn't, the prop choice should become simpler.
- Check every contact point: Rough weave, splinters, exposed staples, and hard seams all matter.
- Build from the inside out: Padding first, texture second, styling details last.
- Keep accents away from the infant: Decorative items should sit near the setup, not on the infant.
Prop images that feel premium
Shoot three reliable views. One overhead, one slight side angle, and one close crop on the face or folded hands. That's enough variety without turning the prop into the entire story.
For delivery, separate by prop type if multiple containers were used. A "Basket Setup" folder and a "Wooden Bowl Setup" folder make selection easier and communicate a more deliberate session design.
6. The Tummy Time Pose
This pose belongs to a different stage of infancy than the classic newborn curl. It becomes useful once the baby has enough strength to tolerate time on the stomach with some head control, and it should never be treated like a default newborn setup.
The visual appeal is obvious. Tummy time frames show profile, cheek shape, shoulder line, and a more active personality than sleeping swaddles or back poses.
Use it at the right stage
A photographer should only use this pose when the infant can manage it comfortably. Very young newborns are better served by supported side, back, or parent-held setups. Once the infant is older and stronger, tummy time opens up natural expression and lifted-head moments.
Because the pose is physically more demanding, sessions should treat it as a short sequence rather than a long station. The infant may give a few excellent moments, then fatigue quickly.
A strong tummy time image looks calm. The setup behind it should still be brief, padded, and closely monitored.
Shape a short sequence
Use textured fabric under the torso and elbows so the infant doesn't slide. Light from the side or three-quarter direction works especially well because it gives contour to the face and catches catchlights cleanly when the infant looks up.
A good delivery set often includes one profile frame, one lifted-head frame, and one lower, resting moment. Pair those with a back-lying setup in the gallery so parents see a clear contrast between active and restful images from the same session.
7. The Sibling Interaction Pose
Sibling images are often the most emotionally valuable photographs in the gallery and the least controllable on set. That's why the safest version is usually the smartest version, not the cutest-looking one in theory.
Young children don't need complicated direction. They need a position that limits risk and a prompt they can follow.
Lower the risk by lowering the setup
The most dependable arrangement places the older sibling on the floor or a large padded bed while the infant lies next to them or is supported between them and a parent just outside the frame. Asking a small child to independently hold a newborn introduces too much instability too quickly.
This is one area where safety and expression align. A lying sibling usually looks more relaxed, makes better eye contact with the infant, and stays in place longer than a sibling asked to sit upright and perform.
- Give the child one task: Look at the baby, whisper to the baby, or kiss the baby's hair.
- Keep the infant wrapped: A swaddled baby is simpler to position and less likely to startle.
- Work fast once the child settles: The best expression often comes early, before attention drifts.
Direct for movement, not perfection
Instead of demanding a frozen smile, cue interaction. Ask the sibling to count tiny toes, tell the baby a secret, or rest cheek-to-cheek if the age and behavior make that safe. Those prompts create photographs with actual feeling.
For delivery, put sibling frames in a dedicated folder. Families revisit those images constantly, and a clean section title helps them find them fast. Broader posing ideas for family sessions can also support planning before the newborn date arrives, especially in a family photoshoot ideas collection.
8. The Wrapped Side Lay Pose
The wrapped side lay pose sits in a useful middle ground. It has more shape than a simple swaddled back pose and less risk than advanced curled composites. For many photographers, this becomes the workhorse pose that fills out a polished newborn gallery.
It also flatters profile beautifully. The curve of the body, the line of the nose, and the layering of the wrap all work together without demanding a complicated balance.
Build support into the fabric
The infant should rest on the side with subtle support tucked beneath the back, shoulders, or blanket layers so the pose holds naturally. The support should never be visible, but it should absolutely be doing real work.
Use a directional soft light to trace the forehead, nose, lips, and wrap folds. A profile pose dies in flat light. It needs shape, but not dramatic contrast.
- Keep the chin neutral: Too high breaks the peaceful feeling. Too low buries the jaw.
- Use multiple fabric layers: Muslin, knit, and jersey each produce a different finish.
- Keep one hand nearby: Minor shifts happen quickly in side-lying positions.
Show subtle variety
This isn't a pose for radical changes. It's a pose for micro-variation. A slight turn toward camera, a tighter crop, a different wrap texture, or a looser outer layer can create enough distinction for album spreads and wall art proofing.
The final gallery benefits from tagging these images by profile and wrap style. That makes comparisons cleaner and helps clients choose based on mood rather than trying to decode filenames.
8-Pose Infant Photography Comparison
| Pose | Implementation complexity | Resource requirements | Expected outcomes | Ideal use cases | Key advantages |
|---|---|---|---|---|---|
| The Swaddled Sleep Pose | Low–Moderate (timing & temperature sensitive) | Soft wraps, warm studio, textured surface | Serene, timeless newborn portraits highlighting details | Newborn sessions (5–14 days); minimalist galleries | Safe, cohesive, broadly appealing |
| The Froggy Pose (Taco Pose) | Very high (advanced composite; safety-critical) | Spotter, layered fabrics, multiple plates, strong retouch/Photoshop skills | Compact, “cute” silhouette with close-up detail | Newborn 5–10 days for portfolio highlights (composite only) | Highly requested, striking visual impact (when safely executed) |
| The Parent Hold (Lifestyle) Pose | Low (directional skill required) | No special props; natural light or soft studio light | Intimate, narrative-driven images showing connection | Newborn and early infant months; family sessions | Authentic emotional moments; minimal setup |
| The Baby on Back (Open Pose) | Low (simple to execute) | Supportive surface, textures, overhead rig optional | Full-face and full-body expressions; milestone documentation | Newborn to ~4 months; milestone sessions | Extremely safe, versatile, expression-rich |
| The Baby in Basket or Prop Setup | Moderate (styling + safety checks) | Quality, weighted props, soft fabrics, spotter | Polished, themed images with strong framing | Styled sessions, seasonal/portfolio work | Highly stylized, customizable, strong design appeal |
| The Tummy Time Pose | Moderate (age-dependent; supervise closely) | Soft textured surface, short session times | Profile and developmental milestone shots | Babies ~2–6 months with good head control | Shows neck strength and profile; developmental storytelling |
| The Sibling Interaction Pose | Moderate (manage multiple subjects) | Minimal props, guidance for siblings, spotter for safety | Emotionally resonant family images documenting relationships | Family sessions across infant's first year and beyond | High sentimental value; authentic, shareable moments |
| The Wrapped Side Lay Pose | Moderate (precise positioning & supports) | Wraps, posing pillows/supports, spotter | Curved, artistic profile portraits with close-up detail | Newborn to ~3 months; polished studio sessions | Artistic profiles with secure swaddle support |
From Pose to Presentation Delivering Your Gallery
Strong infant photography poses don't finish the job on their own. The handoff matters just as much because new parents rarely want to sort through a confusing mass of near-duplicates, alternate crops, and unlabeled folders. They want to feel that the session was handled carefully from start to finish.
That starts with curation. One useful reference point is the recurring question around how many angles per pose lead to a strong gallery. Existing guidance often defaults to three angles, while photographers also report needing multiple frames to catch focused eyes, and demand for curated gallery-size advice has risen among freelancers dealing with oversized edit sets, as discussed in this analysis of angle count and gallery curation pressure. The practical lesson is simple. More capture doesn't automatically mean better delivery.
A clean gallery should group images the way clients naturally think. Swaddled poses together. Parent portraits together. Sibling images together. Prop images together. That structure helps parents compare variations without fatigue and makes favorite selection much faster.
SendPhoto fits this workflow well because it supports folders, tags, search, and batch organization without making clients create an account just to view the work. Password protection, custom watermarks, download controls, and expiring links also keep the delivery process aligned with the professionalism shown during the session itself.
Photographers handling bulk RAW uploads or mixed photo and video deliveries benefit from keeping everything in one branded, mobile-ready system. Instead of handing over a generic transfer link, the gallery can feel like an extension of the studio brand. That matters for repeat family clients and for referral traffic, where presentation often shapes how polished the photographer appears after the shoot is over.
The best galleries also show restraint. Every pose doesn't need every angle. Select the strongest frames that create visible variety. A full-body swaddle, a parent close-up, a profile side lay, a sibling interaction, and one controlled prop setup usually tell a more convincing story than a bloated set of minor duplicates.
Nursery-minded clients often respond strongly to wall-art potential as well, especially when photographers can mentally sequence portraits as finished decor. That's one reason visual references like Revellia nursery art inspiration can help photographers think beyond single images and toward sets that live well together.
SendPhoto helps photographers turn careful posing work into a polished client experience. Upload full sessions in bulk, organize infant photography poses with folders and tags, protect galleries with passwords and watermarks, and deliver a clean mobile-ready review link without forcing clients to create an account. For portrait, family, and growing studio workflows, SendPhoto makes the final handoff look as professional as the session itself.