
Fix closed eyes in photos with Lightroom’s AI tools
To fix closed eyes in photos, you can use Lightroom’s Open Eyes AI feature to generate a corrected version, with other photographs of the person as references. First compare nearby captures: if another frame already has the expressions and composition you need, use it. Otherwise, preserve the original, try the correction and check that the person still looks like themselves before client delivery.
This guide helps portrait and wedding photographers handle a familiar problem: everyone looks good in a group photograph except one person who blinked. AI offers another way to save that frame, but opening someone’s eyes changes their appearance and deserves careful review.
Which AI tool should you use for a blink correction?
Lightroom now includes a dedicated Open Eyes feature, so photographers already using it have a correction tool to check before adding another editing app. Adobe’s October 2026 mobile announcement explains that photographs of the same person can help match eye color, shape and size.
Choose the version that fits your editing setup:
| Tool | When it helps | Important limit |
|---|---|---|
| Lightroom Open Eyes on desktop | You want to select faces and review or choose reference photos. | Adobe labels it Early Access. These instructions cover Lightroom, not Lightroom Classic. |
| Lightroom Open Eyes on mobile | You want to attempt a correction on iOS or Android through Quick Actions. | Adobe says each generation uses generative credits. Check your account allowance. |
The desktop controls are documented in Adobe’s Open Eyes guide; the mobile steps and credit requirement appear in its mobile guide. Feature details were reviewed November 17, 2026.
Having AI tools inside an editor does not establish unlimited use or a particular subscription entitlement. Check availability in your app and account before planning a large correction job. For other editing tasks, see the broader AI photo editing tools guide.
Should you fix closed eyes or choose another frame?
Compare the whole photograph before generating a correction:
- Choose another captured frame when the eyes, expressions, focus and group arrangement already work.
- Try AI correction when the blink affects an otherwise valuable photograph and you have useful references.
- Keep the natural expression when closed eyes belong to the moment, such as laughter or an embrace.
- Leave out the image or offer an alternative when a correction changes the person’s likeness or remains distracting.
For example, a nearby wedding portrait may have open eyes but an awkward expression on another guest. Compare everyone’s appearance before deciding which frame deserves further work. The broader photo selection process can help you separate technical problems from meaningful expressions.
Choose references that look like the person in this frame
A reference photo is another image used to guide the correction. Start with adjacent captures from the same session, then look farther through the set if necessary.
Choose photographs that show:
- The same person with clearly open eyes.
- A similar head turn and camera angle.
- Similar lighting across the face.
- Enough visible detail to judge their actual appearance.
Adobe recommends same-person references with similar face angle and lighting in its desktop instructions. A reference guides the result; it does not guarantee an accurate likeness.
Keep the captured original and create a separate working version. Use filenames that preserve the image number and identify the correction, such as wedding_0421_eyes-v1.jpg. Avoid names such as final-final.jpg, which become ambiguous after another revision.
Fix a blink in Lightroom on desktop
Adobe labels desktop Open Eyes an Early Access feature. In Lightroom:
- Open the photograph in Detail view.
- Select Remove, then Eye Correction > Open Eyes.
- Under Apply to these faces, select the person requiring correction.
- Choose None, Nearby photos or Choose photos as the reference option.
- Review the reference list and exclude unsuitable photographs.
- Select Generate, then inspect the result.
None generates without references. Nearby photos uses captures from around the same time; Choose photos lets you select references yourself. Follow Adobe’s desktop procedure for the current controls.
When likeness matters, start by reviewing suitable same-person references rather than accepting a result simply because the eyes are open.
Use Open Eyes on mobile
In Lightroom on iOS or Android:
- Open the image in Detail view.
- Select Tools > Actions > Open Eyes.
- Select Generate.
- Review the result and select Done if suitable.
Lightroom searches for references and processes the correction using AI. Adobe’s mobile documentation says each generation uses generative credits. Check your available allowance before repeated attempts.
Check the corrected eyes at two viewing sizes
Inspect the correction closely, then return to the size at which someone would normally view the portrait. A result can look tidy in isolation while changing the person’s expression in the full photograph.
Use this review checklist:
- Eye color and shape: Do they match the person in your captured references?
- Gaze: Do both eyes appear to look in a plausible direction?
- Eyelids and expression: Does the correction fit the smile, cheeks and brow?
- Catchlights: Do the small reflections in the eyes make sense for the scene’s lighting?
- Glasses and surrounding detail: Check frames, lashes, skin texture and the transition around the edited area.
- Overall likeness: Does the whole face still look like the person?
Reject a result that looks implausible or changes their appearance. If another attempt does not resolve the problem, return to a captured alternative rather than treating a generated result as something you must deliver.
Ask the client to confirm the exact corrected file
Show clearly labeled captured and corrected copies. Explain the change directly, and give the client a genuine choice to use another frame.
For a hypothetical wedding-group review, you might send:
Please compare
wedding_0421_captured.jpgwithwedding_0421_eyes-v1.jpg. I corrected the closed eyes on the person second from the left. Does the corrected version look like them, and may I include that exact version in your final delivery? We can use frame 0422 instead if you prefer.
Where practical, invite the person whose eyes were changed to review their appearance too. Ask for the response by email or another agreed written channel, and retain it with the job records.
A favorite indicates a preference. It is not explicit confirmation of a facial correction. Record the filename, version and response separately. If you revise the eyes again, ask the client to confirm the new version.
For more detailed requests, use the filename-based approach in annotating a picture and the steps in the client review and approval guide.
Organize review copies before releasing final downloads
SendPhoto can help present the versions and deliver the finished exports. Its collections create named sections inside one gallery. For example, you could organize review copies under “Eye correction review” while keeping gallery downloads disabled.
Collections organize the gallery. They do not create separate audiences or permission boundaries, and moving a file into a collection called “Finals” does not by itself restrict access to other versions. SendPhoto’s collections overview describes how those sections work.
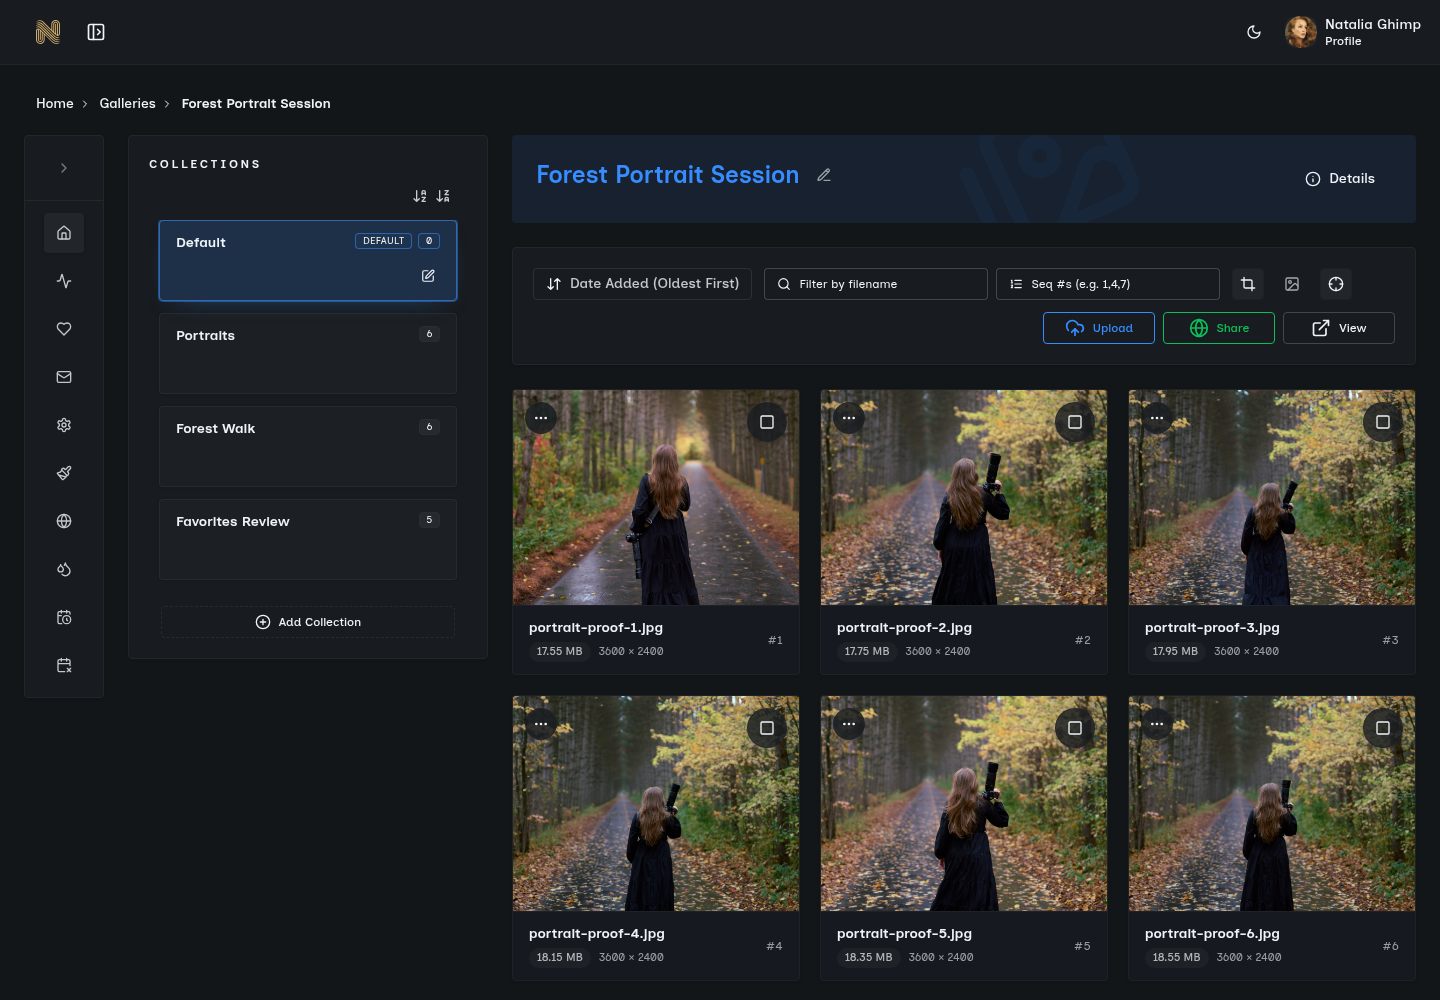
SendPhoto-owned gallery screenshot illustrating collection organization. The photographs shown are not a blink-correction demonstration or an example of client confirmation.

After receiving confirmation:
- Export the confirmed version with a clear filename.
- Remove superseded review copies from the delivery gallery while retaining your own archive copies.
- Check that every remaining file belongs in the client handoff.
- Configure gallery download controls, including Original or Scaled down delivery, for the files the client should receive.
- Download an export yourself and check its filename, dimensions and corrected appearance.
Download settings operate per gallery, as explained in SendPhoto’s download-control documentation. Check the gallery’s contents before enabling downloads. The client proofing gallery guide explains how to move from review copies to finished files without treating selections as approval.
Final blink-correction checklist
Before delivering the photograph, confirm that you have:
- Compared suitable captured alternatives.
- Preserved the original photograph.
- Checked the identity and suitability of reference images.
- Inspected the AI correction closely and at normal viewing size.
- Obtained explicit confirmation of the exact corrected version.
- Removed unwanted review versions from the delivery gallery.
- Checked the downloaded final export.
For the rest of the job, follow the broader photo editing workflow, from preserving originals to checking client deliverables.
Article header illustration: AI-generated; it does not demonstrate an actual correction.